

If you want to add a natural touch that promotes the development of a plant and animal aquatic ecosystem, consider creating a pond. You don’t know how to create a garden pond. Well, no problem. You can make this project a reality between the beginning of spring (March) and the beginning of the fall season (September). If you have decided to beautify your outdoor space, with a small pond, your garden will be more authentic and more alive.
There are currently several solutions that allow you to build a pretty pond. You must seal the bottom of the structure so that the water does not seep in, then you must limit the consequences of the phenomenon of evaporation by setting up a hydrological pond (to collect the rain) to feed the pond.
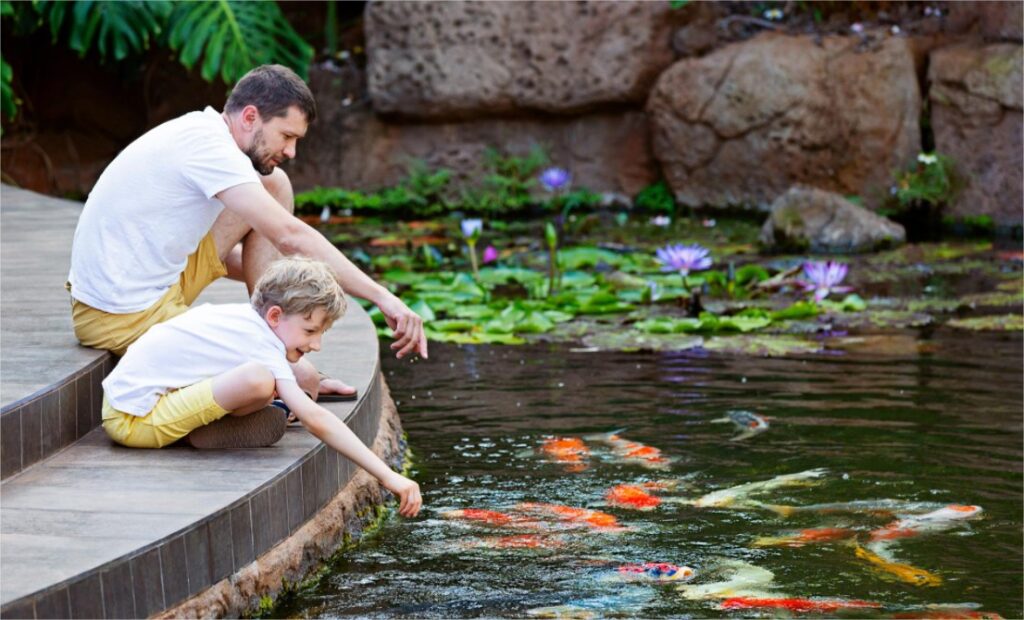
Before you begin to create you garden pond, you must first define the use of this body of water, its area, and the cost of its creation and maintenance. You can create a pond to allow local wildlife to resettle – you’ll have amphibians, dragonflies, pretty Lepidoptera and other insects, as well as natural and organic vegetation. Avoid introducing varieties of fish that may feed on other animals present. If you want to have fish, you need to build a pond instead.
1- Define the size and depth to create a garden pond
It only takes 2 to 3 square meters to be able to create a body of water suitable for the development of amphibians and insects. But the more you increase the surface area of the pond, the more its biological value improves: in fact, the vegetation and the micro-habitats that develop there will be more varied. The maximum area of a small pond is 25 square meters. But if your garden is more spacious and you are ready to allocate a larger budget for your project, you can arrange a large pond of about 100 square meters.
The depth and slope must also be well defined to ensure the quality of your pond: each variety of aquatic plants grows at a specific depth. So, to favor the species that interest you, you have to create different depths.
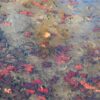
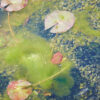
Mints, forget-me-nots, sedges, lysimas, etc. grow on banks and marshy edges. For semi-aquatic plants like reeds, irises, water plantains and cattails, you need to create a sufficient area at a depth of 0.5 m. Then you have the varieties of floating plants like water lilies, pondweeds and duckweed. You can also find oxygenating plants that thrive underwater such as milfoils and callitriches.
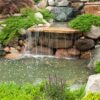
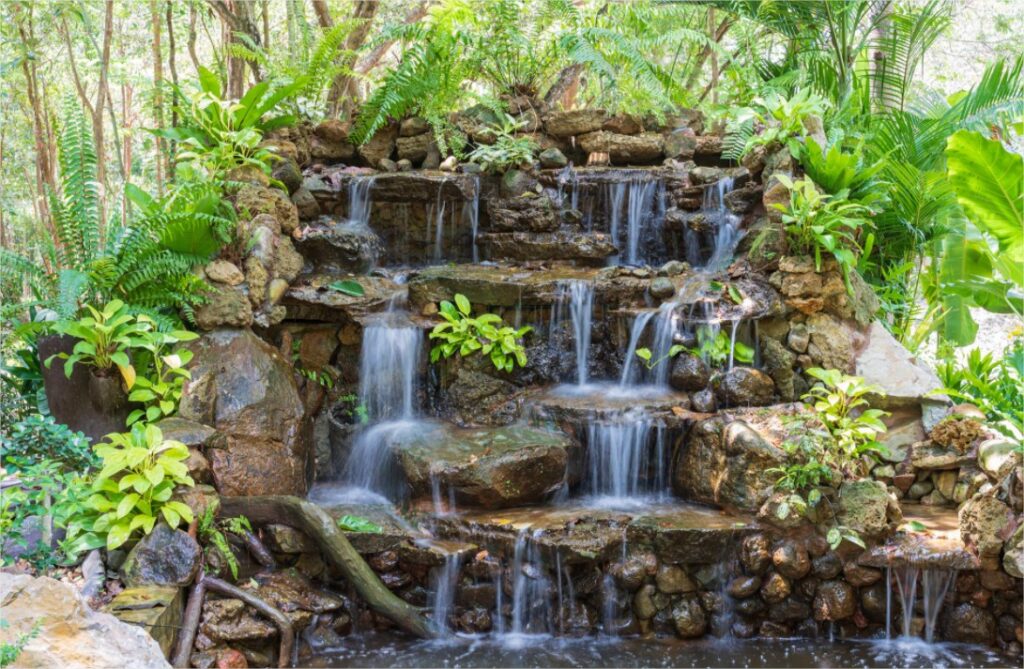
Create shores with gentle slopes or with several levels (stepped). This system reduces the risk of landslides, and animals that accidentally fall into it can exit the pond unaided. Avoid creating a shallow water body because it can dry out easily. Also, over time, mud tends to collect on the bottom. Opt for a pond with different depths to promote the development of various vegetation.
2- How to waterproof your garden pond?
You can use clay to make your pond waterproof and spontaneously refill with rainwater and runoff. It is an affordable and natural alternative. It is also possible to build a reservoir to catch rainwater and ensure your body of water is always full. However, this material must be well packed and it is difficult to handle. If the layer is not thick enough (between 6 and 8 inches) and if it is not firmly pack, the waterproofing of your pond may be compromised. So, if this natural option appeals to you, it is recommended that you follow all the steps before flooding and creating your garden pond.
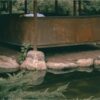
You can also use other coverings such as plastic sheeting or PVC sheeting. Choose a backing with a good thickness to avoid premature tearing. Manufacturers indicate that these coatings have a lifespan of more than 10 years. It is recommended that you do not wear shoes when you have to walk on the tarp.
When you have finished digging your pond, with the different drops you want, pour a 5 cm layer of sand before covering with the tarp, especially if the ground is stony. Then cover with a layer of soil that will allow the vegetation to grow.
3- How to proceed concretely to create your garden pond?
You need spades, shovels, pickaxes, a mason’s level, a wheelbarrow, sand, waterproofing material (tarpaulin or clay). The length of the cover must be equal to the maximum length of the pond + (maximum depth x 2). The width of the cover is equal to the maximum width of the pond + (maximum depth x 2).
Mark the outline of your pond using stakes and a rope. You need appropriate equipment (spirit level) to carry out the earthworks and do not forget to go a little deeper by counting the additional 10 to 20 cm of the layers of sand, tarpaulin, earth or even sand. clay to seal the pond.
Take care to remove all stones and roots that may pierce your tarp. The surface must be very smooth and well packed before pouring the sand. The tarp must conform to the shape of the surface and it must not present any protruding folds or tension to prevent it from tearing.
You can fill the pond the first time to clean the plastic coating and correct the shape of the depression before attaching it. Do not forget to add the layer of soil to facilitate the development of vegetation. You can use rainwater, water from a well, or tap water to fill your pond.
4- Finalize the creation
To protect the edges of your tarp from U.V. rays, grow grass. You can also create a swampy area between the body of water and the grass. You can then arrange the banks by installing flat stones to consolidate.
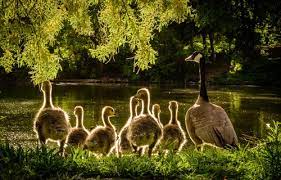
When your pond is full (it takes a few months if you’re waiting for rainwater and runoff), start planting aquatic plant species in your area. Exotic plants are not recommended because they risk compromising the ecological balance of your pond. You can also introduce small animals in your area to create a small natural ecosystem. For example, amphibians will feed on small pests like mosquitoes.
Remember to maintain your body of water periodically: when autumn is here, cut back the plants that are on the banks. Remove some of the plants that grow underwater and invade your pond. Do not throw them away immediately. Arrange them on the banks so that the animals that have settled there can repopulate the pond.
After a few years, you should clean up some of the silt that has accumulated at the bottom of the pond so that it does not suffocate. Make your pond creation project a reality under the best possible conditions: do not hesitate to seek professional help, if necessary, in order to guarantee the sustainability of your water body.